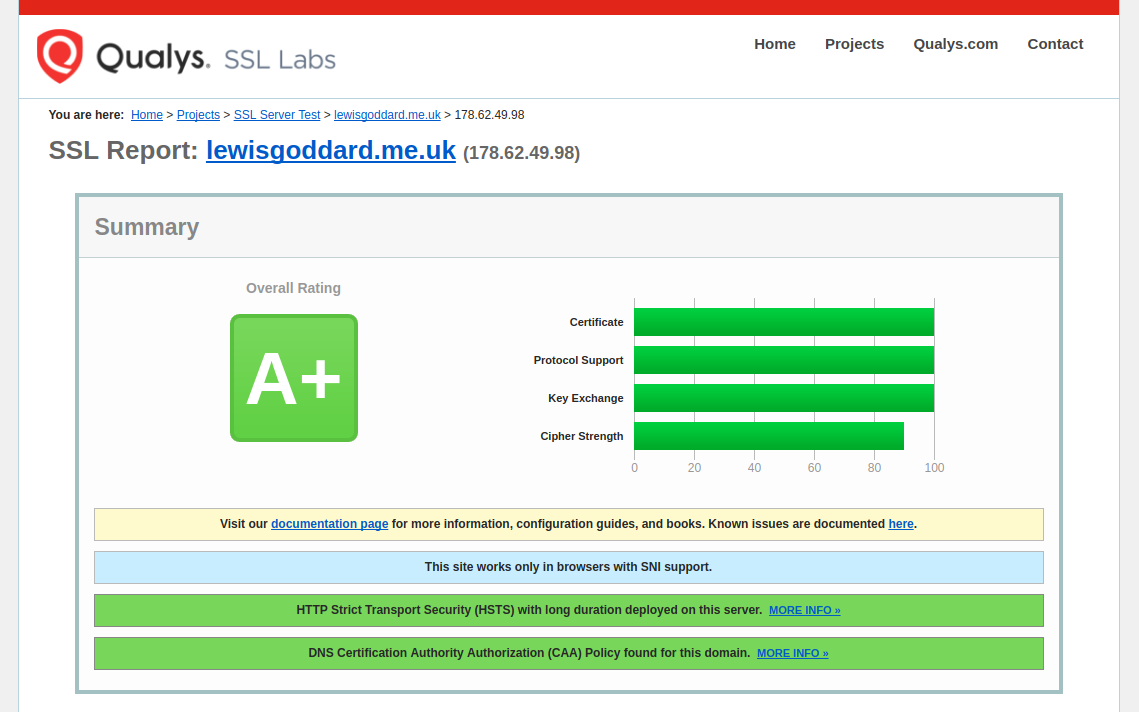
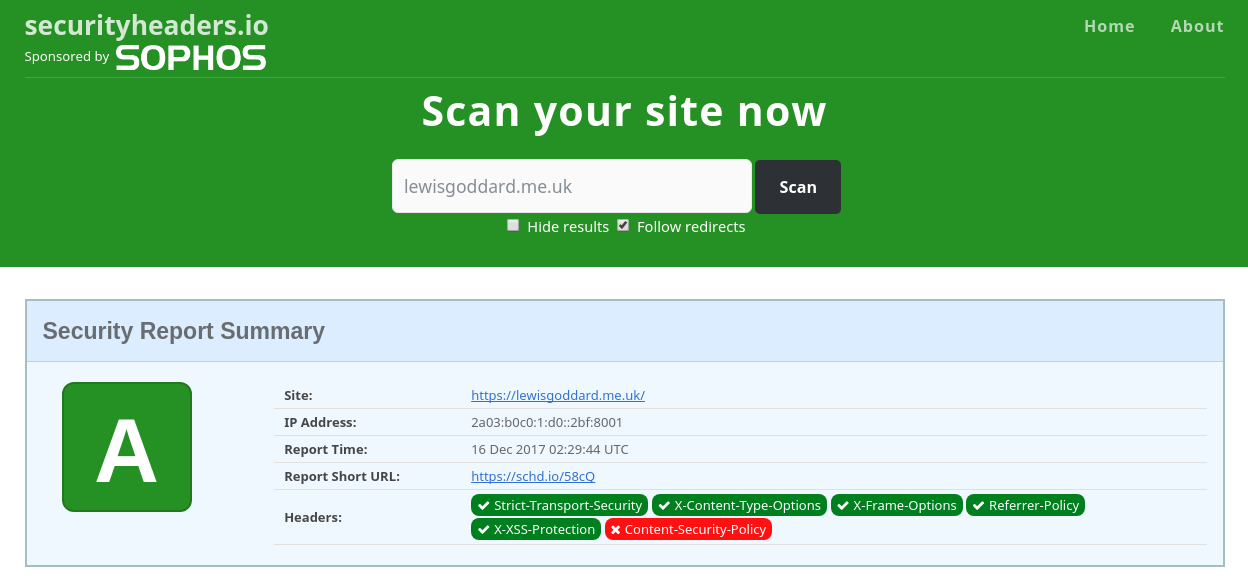
If you want an instant A+ score on Qualys SSL Labs and A score on SecurityHeaders.io, then this is what you'll need to do. You won't need any familiarity with Certbot, Let's Encrypt, the ACME spec, or SSL in general, just basic Nginx configuration.
1. Install Certbot and Clone Bubbly
We'll start off by cloning the project into the home folder with git.
cd &&
sudo apt install git certbot &&
git clone https://github.com/eustasy/bubbly
2. Generate Statics
Generate the static keys once per server.
~/bubbly/bubbly_generate-statics.sh
As it will warn, this will take a while.
Have a seat.
3. Copy config blocks
When you've gone and made something in the 15 minutes that could well take, or you've just set up a new SSH session, copy the Nginx configuration over to the Nginx area.
~/bubbly/bubbly_copy-configs.sh
4. Configure & Enable Verification
Copy the verification site template and replace the instances of example.com in the file with your actual domain name.
sudo cp /etc/nginx/sites-available/bubbly_verify.conf /etc/nginx/sites-available/example.com.conf
sudo nano /etc/nginx/sites-available/example.com.conf
Use Ctrl and \ to initiate a search and replace for example.com with your domain.
sudo ln -s /etc/nginx/sites-available/example.com.conf /etc/nginx/sites-enabled/example.com.conf
sudo nginx -t && sudo service nginx reload
Alternatively, you can simply add include location/bubbly_well-known-passthrough.conf; to an existing site you want to continue working while we upgrade.
5. Fetch Certificates
Fetch your certificates like this:
~/bubbly/bubbly_renew-ssl.sh -d example.com -d www.example.com
It will ask for the root password, and an email address, so hang around, it shouldn't take more than a few seconds.
6. Start using the Certificates
Remove the verification config you just made, and replace it with a live version of the site. You'll need to more carefully review the [OPTION]s in this file, as you'll also need to change the certificate location to match the domain name you requested. Consider taking a look at the [OPTION]s and [WARNING]s in other linked config files.
sudo rm /etc/nginx/sites-available/example.com.conf
sudo cp /etc/nginx/sites-available/bubbly_live.conf /etc/nginx/sites-available/example.com.conf
sudo nano /etc/nginx/sites-available/example.com.conf
Use Ctrl and \ to initiate a search and replace for example.com with your domain.
sudo nginx -t && sudo service nginx reload
7. Automate Renewal
Edit crontab.conf and append it to your existing cron jobs for automatic renewal. This is important, since Let's Encrypt certificates expire in three months.
nano ~/bubbly/crontab.conf
cat ~/bubbly/crontab.conf > /tmp/bubbly-crontab
crontab -l >> /tmp/bubbly-crontab
crontab /tmp/bubbly-crontab

