Web Automation Center is a web application written using the ruby on rails framework and running in jruby.
You just need to run the following commands to start the application:
- export RAILS_ENV=production
- jruby -S bundle install
- jruby -S rails s trinidad
The following environment variables must be set to use Amazon S3 (or another Amazon S3 compliant storage platform) to backup/restore data and share data among users:
- S3_URL (ex: http://s3.amazonaws.com)
- S3_PORT (ex: 80)
- S3_BUCKET
- S3_ACCESS_KEY_ID
- S3_SECRET_ACCESS_KEY
The goal of this application is to allow people to:
- Learn how to use different REST APIs (Amazon S3, Atmos REST, ViPR Management API, …)
- Run some demos to demonstrate the API capabilities
- Automate the creation of resources, for example during a POC
- Show how object storage can solve many problems (large files upload with Amazon S3 multipart upload for example, …)
- Share demos with other people
- Troubleshoot API issues (for example, comparing the response using a true Amazon account and a S3 compliant platform)
The Dockerfile can be used to create a Docker container for this web application.
A Docker container is also available in the Docker Hub (djannot/web-automation-center)
To run the container, you need to execute the following command:
- docker run -d -p 3000:3000 djannot/web-automation-center
You can also use -e S3_URL=xxx -e S3_PORT=80 ... to specify the environment variables to use Amazon S3 (or another Amazon S3 compliant storage platform) to backup/restore data and share data among users.
Login
The first time you connect to the URL of the web application, you need to sign up:
Then, you can directly login using the same email address:
Adding a Cloud API
Web Automation Center currently supports the following Cloud APIs:
- Amazon S3 API
- Atmos REST API
- Openstack Swift API
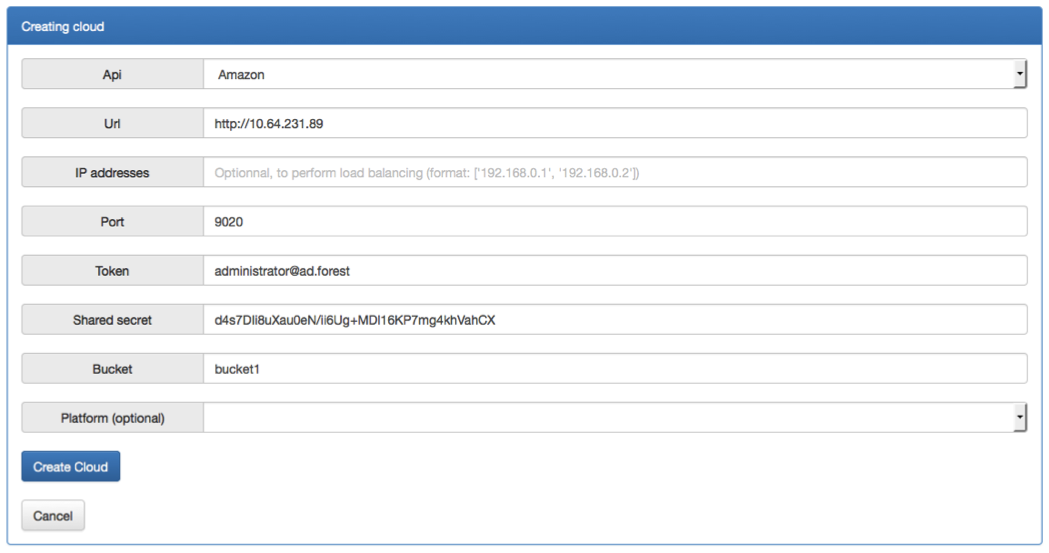
Click on Cloud APIs – Add
If the Url contains a FQDN, you must ensure that this FQDN can be resolved, which is generally a challenge (especially when using the online version of the web application), so I encourage you to specify an IP address instead.
The IP addresses field can be used to balance the load across different IP addresses (it’s useful for the benchmark feature, not really for the other ones).
Bucket can be used if you want each request to be sent to this bucket.
Adding a Management API
Web Automation Center currently supports the following Management APIs:
- Atmos REST Management API
- Avamar REST API
- ViPR Management API
- vCloud Director API
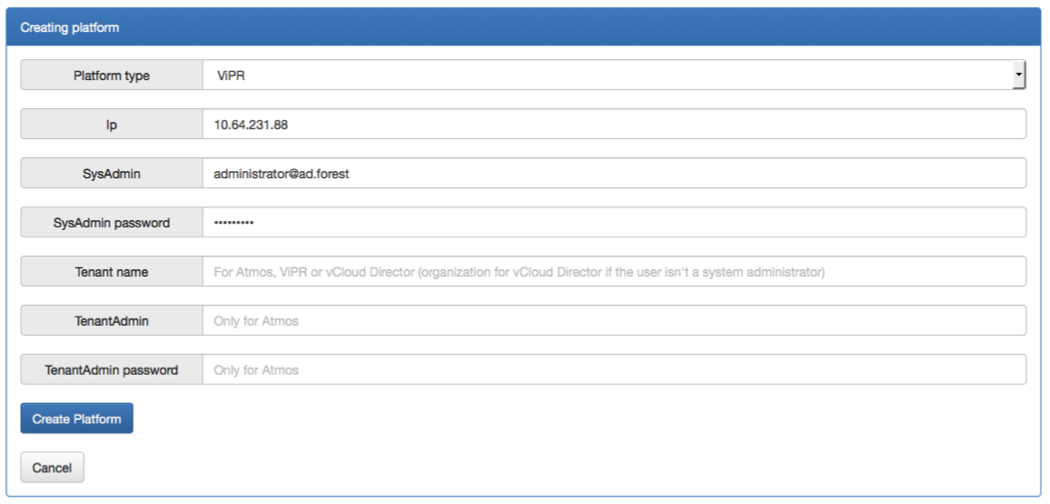
Click on Platform Management – Add
Requests
This is the main feature of the web application. It allows you to run REST requests without having to struggle with the authentication complexity.
When using the ViPR Management API, the authentication is pretty simple. You send a request to a special URL which returns a token that you can then use to send any other request.
But, when using the Amazon S3 API or the Atmos REST API, each request must be signed using a complex mechanism.
So, the goal of this web application is to do the authentication behind the scene.
- Manual Requests
Click on Requests – Manual request
Headers can be added in a ruby hash format {‘key’ => ‘value’} (one per line)
If you specify a keyword between two XXX, a new field will be automatically created at the top of the page:
When you click on Execute Request, then the REST call is executed and a detailed response is displayed
To be able to run this request again later, click on Add to favorites
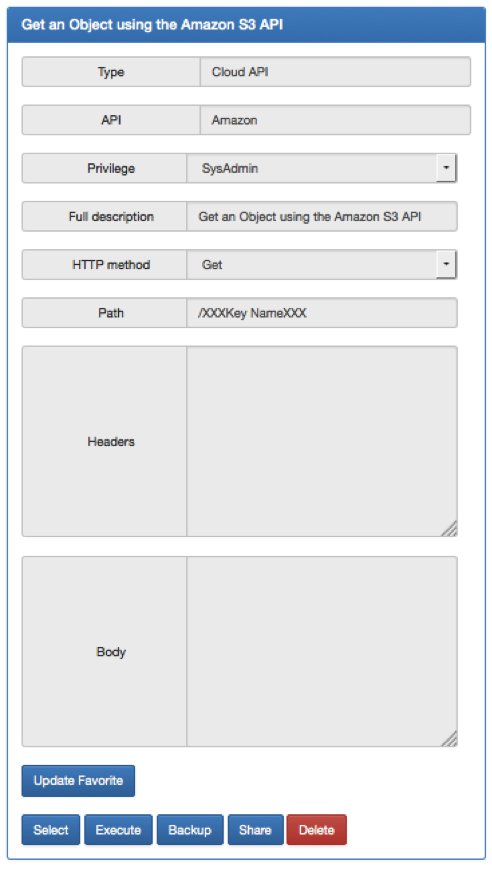
You can now click on Manage favorites to see all your favorites classified by APIs:
You can click modify, select, execute or delete a favorite.
I’ll cover the other features later.
- Bulk Requests
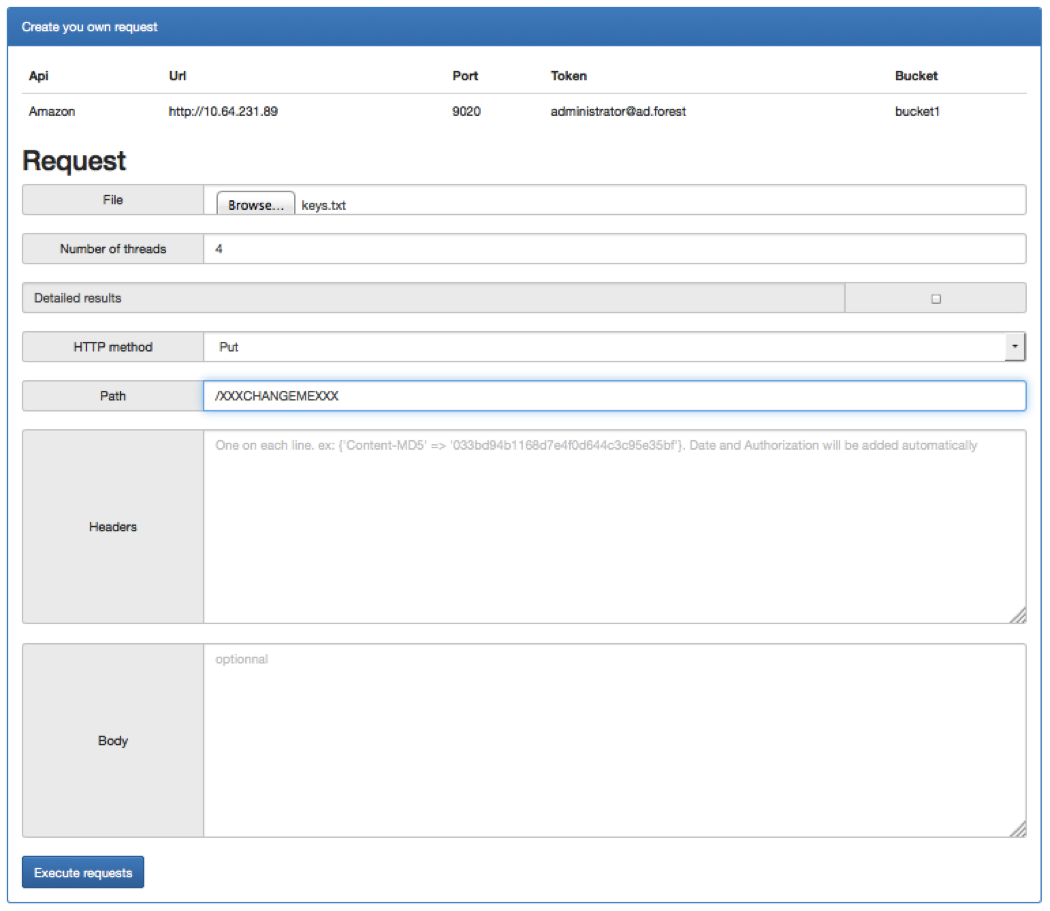
Click on Requests – Bulk requests
In this example, I’ve selected a file containing the following text and I’ve used the XXXCHANGEMEXXX to tell the web application to execute the request for each line replacing XXXCHANGEMEXXX by the value of each line and I’ve indicated the number of threads to execute in parallel.
You can also select the Detailed results checkbox to see the complete response of each request.
Demo
Web Automation Center allows you to create demos using your different favorites.
Click on Demos – Add
You can then click on Manage favorites to add tasks to this demo.
When you found the favorite you want to use, click on Add to a demo and select the demo you want to use.
As you can see above, the Type and API field are not set correctly, so you need to click on Actions – Update API
Select the API you want to use and select the Apply the modification to all the tasks ? checkbox if you want to update all the tasks of this demo.
Click on the Run button.
You can click on Actions – Add response codes to set what response code you expect
Now the response code will become green if the expected response code is returned.
Click on Actions – Show request to see the full response
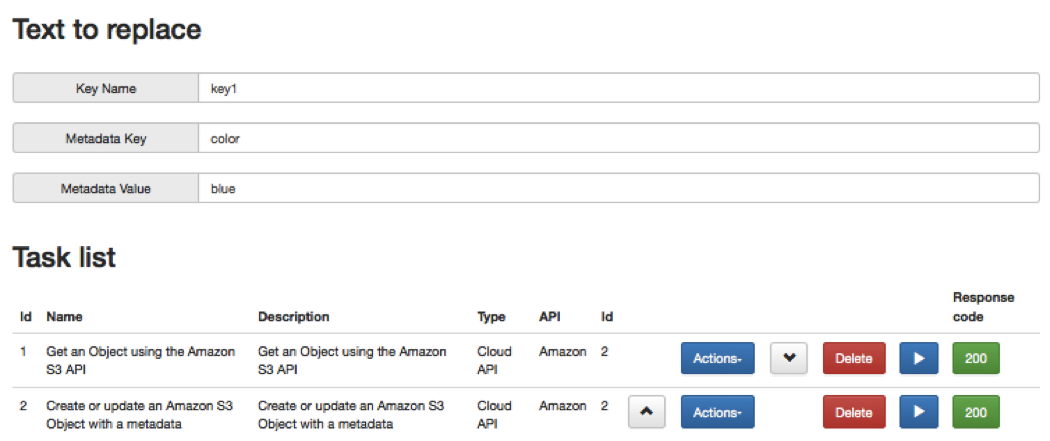
Let’s add a second task to add a metadata to the existing object:

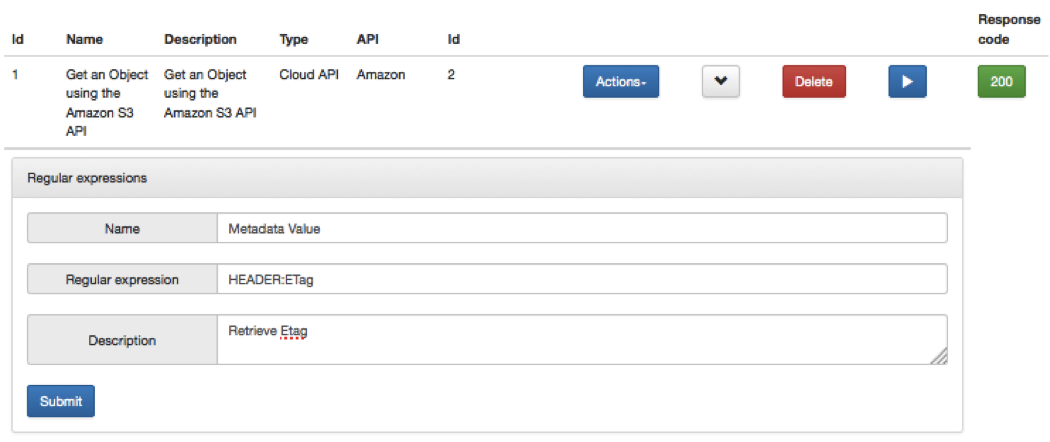
This works well, but what if you want to retrieve a value from the first task. You can simply click on Actions – Add a regular expression
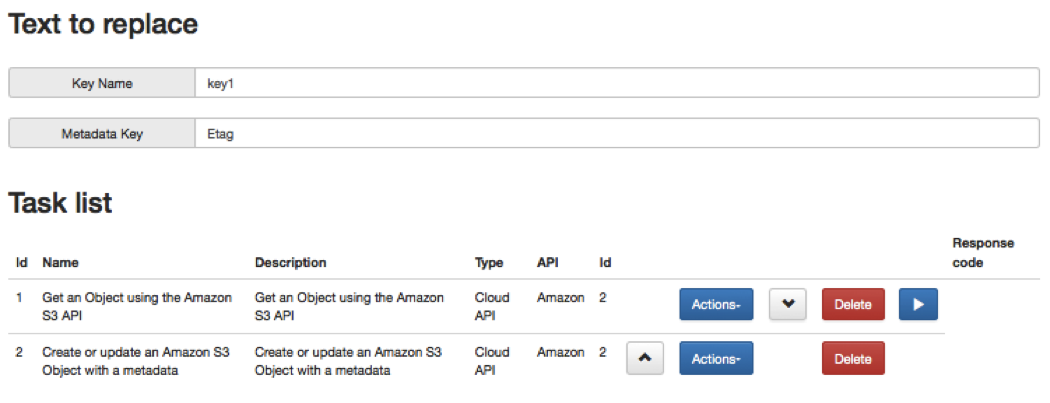
As you can see below, the Metadata Value field is no more required:
And when you execute all the tasks, the value returned by the first task is used by the second task.
Backup & Sharing
- Backup & Restore
Click on Backup & Restore
You can backup the data you want either in a local file or in the cloud (in my Amazon account, in fact). This will be encrypted with the encryption password you choose (this is not the password you use to log into the web application) to ensure the password you indicate in the Cloud or Management APIs won’t be compromised.
You can later upload the file containing your backups to restore it and again you need to enter the decryption password. If the backup you want to use contains all your data, you should probably click on the Delete all my data button first to avoid any duplicate entry.
The decryption password is not necessary if you recover a single favorite or demo.
You can also Click on the Backup button at the favorite or demo level to backup them to a file.
Finally, if you backed up your data to the cloud, you can click on List cloud data:
- Sharing
This feature allows you to share your favorites and/or demo with other users.
Anyone will be able to access them, but nobody else will be able to delete them.
You can click on List cloud data to browse the shared data and manage the data you shared:
Simply click on Import to import one of them and don’t forget to update the API after importing a demo.
The shared favorites and demo aren’t encrypted in Amazon, so they shouldn’t contain any critical information.
Web Automation Center also provides other features like:
- Amazon S3 Multipart upload demo
- Client-side upload using multipart upload (Amazon S3 API)
- Atmos logical and physical reporting


