Introduction to testing with googletest
- What does "testing" even mean
- The usual automated testing frameworks
- How to keep googletest in our project codebase correctly?
- Conclusion
You already know how to write some C++ code. Furthermore, you also know that the code should be structured into bite-sized chunks and that you can write functions that you can put into libraries.
So, you write your next amazing project, you spend hours on writing out the code and thinking about how great everything's going to work.
Finally, you're there, you run your code.
And...
Of course it crashes! At least my code would in such a scenario...
Wouldn't it be nice if there was some automated framework we could use to reduce the likelihood of this outcome?
Well, of course such a framework exists! There are actually various testing libraries out there that combined become our first line of defense against the bugs. They all allow writing "test code" to test that our code does what we expect it to.
So today we're talking about how to set up such a system and make it work for our purposes. 😉
Before we talk about a concrete framework, let's chat about what does it mean to "test" the code.
Well, essentially, testing our code means that we want to verify that it does what we expect it to do.
This testing can happen on many levels!
We won't go too deep into this, but largely speaking we usually have these layers:
- Unit testing --- test if each module works on its own
- Integration testing --- test how the modules work together
- Regression testing --- test that we did not break critical systems with new changes
- Acceptance / system testing --- test that the system as a whole works as expected
In general, the first are done fully automatically, while the last one is a combination of automatic and manual validation.
However, today we're going to be talking about a framework that mostly allows us to address the first two - the unit testing and the integration testing.
Largely speaking there are 3 frameworks that I am aware of that are being used in the wild
All of these can be integrated into your CMake or bazel project. Also, they all follow relatively similar concepts, so once you learn one you'll easily use the other ones too.
In this course, we're going to be using the googletest framework as this is the one I've seen most often in the industries I've been working in.
There are multiple ways to include the googletest framework into your project.
Google recommends compiling their testing framework along with your project, so we won't install it as a dependency system-wide and will instead use the source code directly in our project
For a start we'll just download it manually, unzip it and put it into the external subfolder of our project folder to be used by our build system. Let's put it to my_project/external folder.
Even though we do start with this manual way, but stick until the end of the video to find out why it's not what we want to do and what we should do instead.
Anyway, now that the code is in the project folder, we can use it in our CMake project by adding the necessary add_subdirectory command to the CMakeLists.txt file.
mkdir my_project
cd my_project
code CMakeLists.txt
CMakeLists.txt
cmake_minimum_required(VERSION 3.16..3.24)
project(try_googletest VERSION 0.0.1
                       DESCRIPTION "Try googletest"
                       LANGUAGES CXX)
# Add subdirectory with external projects' code
add_subdirectory(external)
We then want to add a CMakeLists.txt to the external folder too:
code external/CMakeLists.txtexternal/CMakeLists.txt
# Setting this will only affect the folders down from the current one
set(CMAKE_CXX_STANDARD 17)
add_subdirectory(googletest)
That's it! If we now build our project it will build the googletest code.
Building the code is a bit useless on its own. We want to use it!
For that we have to add a couple of things to our CMake:
-
We want to call
include(CTest)in the mainCMakeLists.txtfile of the project to enable tests:CMakeLists.txtcmake_minimum_required(VERSION 3.16..3.24) project(try_googletest VERSION 0.0.1 DESCRIPTION "Try googletest" LANGUAGES CXX) # Enable testing for this project include(CTest) # Add subdirectories with code add_subdirectory(external) add_subdirectory(my_project)
-
In the folder with your test files create test binaries and register them with CTest using the gtest_discover_tests command:
my_project/CMakeLists.txt# BUILD_TESTING variable is created by include(CTest) # It is set to ON by default if (BUILD_TESTING) add_executable(my_test my_test.cpp) target_link_libraries(my_test PRIVATE GTest::gtest_main) include(GoogleTest) # Finds all the Google tests associated with the executable gtest_discover_tests(my_test) endif()
That's all we need to integrate our tests with CMake.
But wait! We don't have the actual test code there! Let's fix that right now!
We jump back into our editor, create a new file my_project/my_test.cpp and type away.
// Must include the gtest header to use the testing library
#include <gtest/gtest.h>

namespace {
  // We will test this dummy function but you can test
  // any function from any library that you write too.
  int GetMeaningOfLife() {  return 42; }
}

// All tests must live within TEST* blocks
// Inside of the TEST block is a standard C++ scope
// TestTopic defines a topic of our test, e.g. NameOfFunctionTest
// TrivialEquality represents the name of this particular test
// It should be descriptive and readable to the user
// TEST is a macro, i.e., preprocessor replaces it with some code
TEST(TestTopic, TrivialEquality) {
  // We can test for equality, inequality etc.
  // If the equality does not hold, the test fails.
  // EXPECT_* are macros, i.e., also replaced by the preprocessor.
  EXPECT_EQ(GetMeaningOfLife(), 42);
}

TEST(TestTopic, MoreEqualityTests) {
  // ASSERT_* is similar to EXPECT_* but stops the execution
  // of the test if fails.
  // EXPECT_* continues execution on failure too.
  ASSERT_EQ(GetMeaningOfLife(), 0) << "Oh no, a mistake!";
  EXPECT_FLOAT_EQ(23.23F, 23.23F);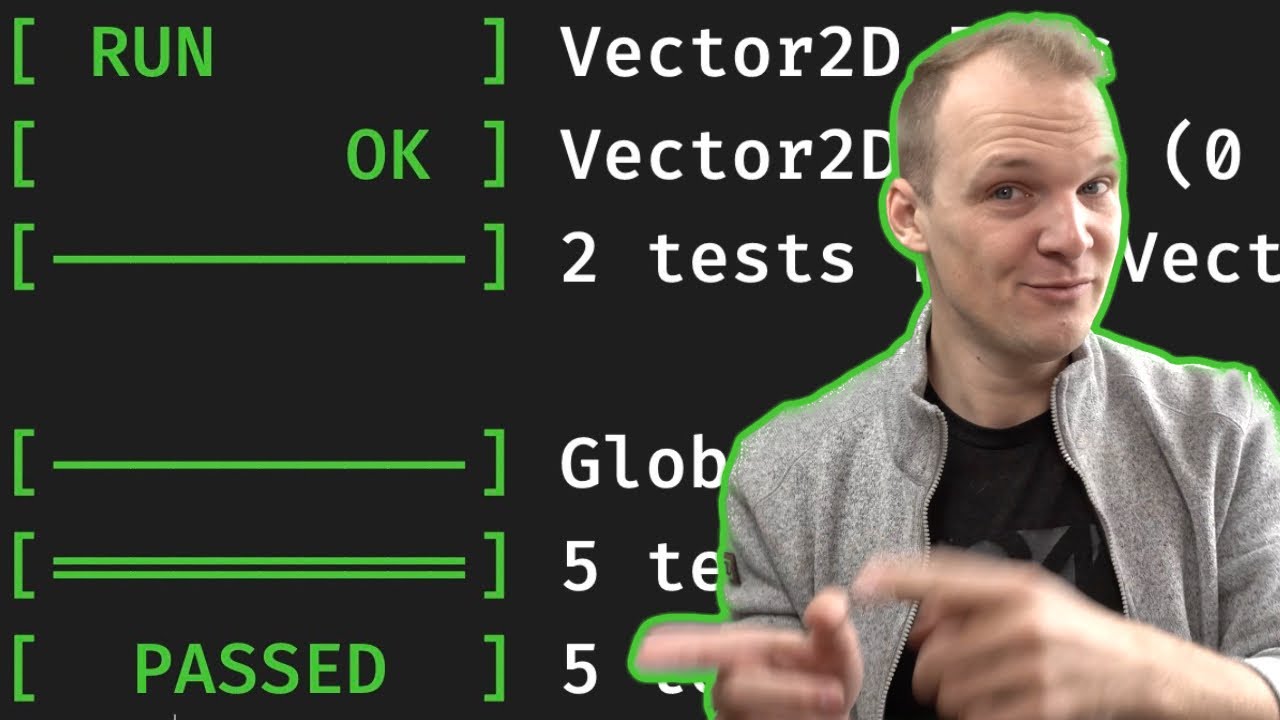
}Now with these tests defined and our CMake configured to discover them, we can eventually actually run them!
We now just need to build the project again and run ctest:
cmake -S . -B build
cmake --build build -j 12
GTEST_COLOR=1 ctest --test-dir build --output-on-failure -j12
# Or if you have an older CMake version (<3.20)
cd build && GTEST_COLOR=1 ctest --output-on-failure -j12
Unfortunately, one of our tests is failing! It shows up in red and prints our custom error message too! Let's go back to the editor and fix it!
We can easily fix this error by changing the code in our test.
-ASSERT_EQ(GetMeaningOfLife(), 0) << "Oh no, a mistake!";
+ASSERT_EQ(GetMeaningOfLife(), 42) << "Oh no, a mistake!";
We now execute this again and see that all the tests have passed! Hooray!
For now we've only checked very trivial things in our tests. I mean, we've been testing a function that we wrote directly in the test file! If we want to use other libraries here we can easily do that by adding those libraries as dependencies to the test CMake target and including the appropriate header files in the C++ test file.
If you don't know what I'm talking about then watch this tutorial about libraries and then this one about cmake.
Ok, remember how I told you to stick around?
Copying the code from GitHub like we did before into your project is not enough. Let me illustrate!
Imagine you're developing your project in a team (or, if you don't like people, imagine that you're developing your project on multiple machines). You've just copied the googletest code into your project and wrote some tests. You push your code changes into your git repository. You don't want to push the googletest code because it's not your code, it is some external code that you don't want to maintain.
Now, what will happen to your colleagues when they pull the changes and try to build?
This. CMake fails to find the googletest folder so now they would also need to manually download it into the external folder.
And now you also need to sync on the version of the googletest library that all of you download. You can probably guess that this is not the way. And you're right! There are multiple ways people deal with this:
- Installing googletest as a system dependency (deprecated, but still used)
- Using the CMake's
FetchContentto download the code on every build (you can read all about it in Googletest's Quickstart section) - Or adding Googletest as a submodule to your repository (this is my preference and I'll show you how to do it now) (adapted from here)
We copy the link to the googletest library from GitHub and initialize a submodule with it:
cd my_project
git submodule add https://github.com/google/googletest.git external/googletest
That's it, now the code linked to your repository as a submodule and anybody who clones it can run a command to update it:
git submodule update --init --recursiveAnd get the latest changes from the submodule.
The only issue with this is that people will forget to do this, which will lead to people complaining and running different versions of the underlying libraries, so there is one final trick I want to show you to avoid this.
Remember how I told you that "CMake is just a scripting language"?
We can bake the submodule update procedure into CMake directly!
For that, create a new folder cmake in your project root and add the file UpdateSubmodules.cmake in it. Then copy the code linked in the description of this video into it. Here is what this code does roughly:
- check if
gitexists on the system - check if we want to update the submodules
- list available submodules
- update them
my_project/cmake/UpdateSubmodules.cmake:
# Adapted from https://cliutils.gitlab.io/modern-cmake/chapters/projects/submodule.html
find_package(Git QUIET)
if(GIT_FOUND)
    option(UPDATE_SUBMODULES "Check submodules during build" ON)
    if(NOT UPDATE_SUBMODULES)
        return()
    endif()
    execute_process(COMMAND ${GIT_EXECUTABLE} submodule
                    WORKING_DIRECTORY ${CMAKE_CURRENT_SOURCE_DIR}
                    OUTPUT_VARIABLE EXISTING_SUBMODULES
                    RESULT_VARIABLE RETURN_CODE
                    OUTPUT_STRIP_TRAILING_WHITESPACE)
    message(STATUS "Updating git submodules:\n${EXISTING_SUBMODULES}")
    execute_process(COMMAND ${GIT_EXECUTABLE} submodule update --init --recursive
                    WORKING_DIRECTORY ${CMAKE_CURRENT_SOURCE_DIR}
                    RESULT_VARIABLE RETURN_CODE)
    if(NOT RETURN_CODE EQUAL "0")
        message(WARNING "Cannot update submodules. Git command failed with ${RETURN_CODE}")
        return()
    endif()
    message(STATUS "Git submodules updated successfully")
endif()
We can call this script by adding an additional line to our root CMakeLists.txt file:
cmake_minimum_required(VERSION 3.16..3.24)
project(try_googletest VERSION 0.0.1
                    DESCRIPTION "Try googletest"
                    LANGUAGES CXX)
# Update the submodules here
include(cmake/UpdateSubmodules.cmake)
# Enable testing for this project
include(CTest)
# Add subdirectories with code
add_subdirectory(external)
add_subdirectory(my_project)
Now if we run the cmake commands again, our submodules will be updated automagically.
Whoah, that was some amount of content. All in all, you now know that you should test your code and you know how to do that too using CMake and the googletest framework.
If you like this stuff you can subscribe to my channel and also go explore other videos on my channel! Bye!